スーパーゲームボーイ風イメージエフェクト
2019-11-07
成果物
以下の続きで、もうちょっと階調数や色味を調整できるやつを作った:
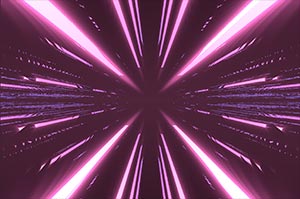
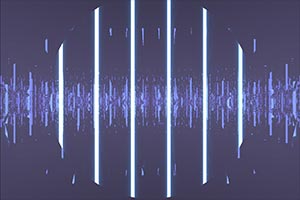
少ない階調に任意の色を当てていたスーパーゲームボーイを彷彿とさせる見た目になったので、そのように呼ぶことにする。
パラメータをいじっている時の動画
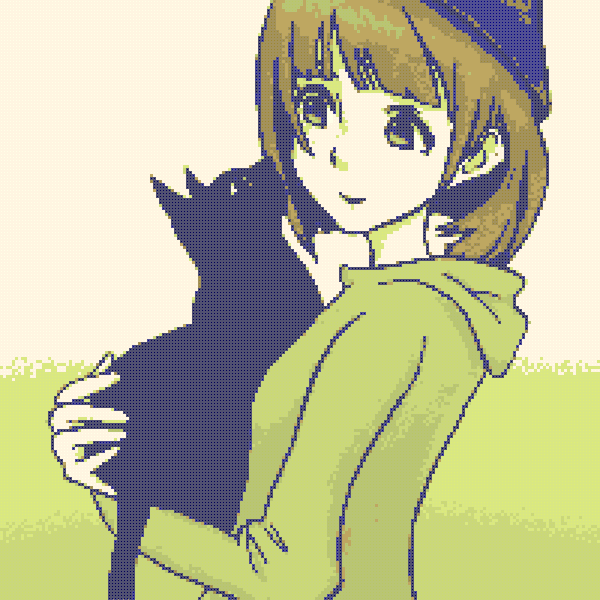
階調数やドットの粗さは調整可能なパラメータにしてある:
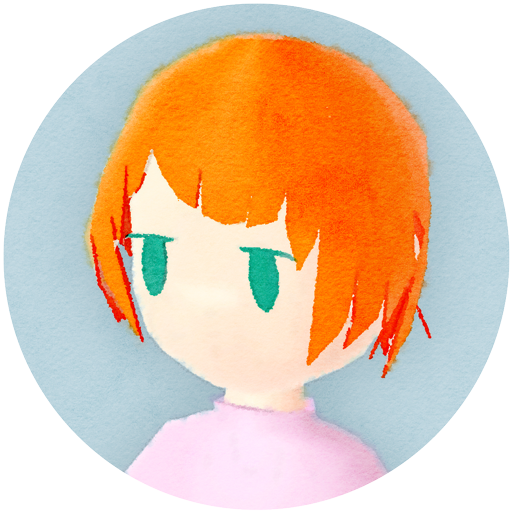
ちなみに元絵はこれ:
ソースコード
- 動作環境は Unity 2019.2.0b5
カメラにイメージエフェクト(ポストエフェクト)用のスクリプトをアタッチ:
// ImageEffect.cs
using UnityEngine;

[RequireComponent(typeof(Camera)), ExecuteInEditMode, ImageEffectAllowedInSceneView]
public class ImageEffect : MonoBehaviour {
  public Material material;

  void OnRenderImage(RenderTexture src, RenderTexture dest) {
    Graphics.Blit(src, dest, material);
  }
}
- Unity では
Graphics.Blit()によって、Material の _MainTex にカメラのレンダリング結果が渡る
上記スクリプトにセットした Material に、以下のシェーダを当てる:
Shader "MyPostEffect/SuperGBLike" {
  Properties {
    _MainTex ("Texture", 2D) = "white" {}
    _TileScale ("TileScale", Range(0.001, 0.1)) = 0.01
    _ColorThreshold ("ColorThreshold", Range(0, 2)) = 1
    _NumGradation ("NumGradation", Range(1, 32)) = 4
    _NoiseLevel ("NoiseLevel", Range(0, 1)) = 0.01
  }
  SubShader {
    Cull Off ZWrite Off ZTest Always

    Pass {
      CGPROGRAM
      #pragma vertex vert
      #pragma fragment frag

      // Properties
      uniform sampler2D _MainTex;
      uniform float4    _MainTex_TexelSize;
      uniform float     _TileScale;
      uniform float     _ColorThreshold;
      uniform int       _NumGradation;
      uniform float     _NoiseLevel;

      // Input
      struct appdata {
        float4 vertex : POSITION;
        float2 uv     : TEXCOORD0;
      };

      // Vertex to Fragment
      struct v2f {
        float4 pos : SV_POSITION;
        float2 uv  : TEXCOORD0;
      };

      //------------------------------------------------------------------------
      // Vertex shader
      //------------------------------------------------------------------------
      v2f vert(appdata v) {
        v2f o;
        o.pos = UnityObjectToClipPos(v.vertex);
        o.uv  = v.uv;
        return o;
      }

      //------------------------------------------------------------------------
      // Helpers
      //------------------------------------------------------------------------
      float map(float value, float min1, float max1, float min2, float max2) {
        return min2 + (value - min1) * (max2 - min2) / (max1 - min1);
      }

      float posterize(float val) {
        float mapped = map(val, 0, 1, 0, _NumGradation);
        return floor(mapped) / (_NumGradation - 1.0);
      }

      float rand(float2 seed) {
        return frac(sin(dot(seed, float2(12.9898, 78.233))) * 43758.5453);
      }

      //------------------------------------------------------------------------
      // Fragment shader
      //------------------------------------------------------------------------
      fixed4 frag(v2f i) : SV_Target {
        // モザイク
        float widthRatio = _MainTex_TexelSize.x / _MainTex_TexelSize.y;
        float2 scale = float2(_TileScale * widthRatio, _TileScale);
        float2 uv    = (floor(i.uv / scale) + 0.5) * scale;
        fixed4 color = tex2D(_MainTex, uv);

        // グリッド
        float numPixelH = 1 / (_TileScale * widthRatio);
        float numPixelV = 1 / _TileScale;
        float2 grid_uv = float2((i.uv.x * numPixelH) + 0.5, (i.uv.y * numPixelV) + 0.5);
        float2 range = abs(frac(grid_uv) - 0.5);
        float2 gradient = fwidth(grid_uv);
        float2 pixelRange = range / gradient;
        float lineThickness = 0.05;
        float lineWeight = saturate(min(pixelRange.x, pixelRange.y) - lineThickness);
        fixed4 gridColor = fixed4(0.5, 0.5, 0.5, 1.0);

        // 階調化とノイズ
        half brightness = dot(color.rgb, half3(0.30, 0.59, 0.11)) * _ColorThreshold;
        brightness += rand(uv + _Time) * _NoiseLevel;
        fixed c = posterize(brightness);

        // 色のレンジごとに色味を変える
        // (※ リリース版ではランプテクスチャを利用するのが真っ当だがとりあえず)
        if (c < 0.2) { color.rgb = float3(0, 0, c + 0.1); } else
        if (c < 0.5) { color.rgb = float3(c * 1.2, c * 0.85, c * 0.1); } else
        if (c < 0.9) { color.rgb = float3(c * 0.85, c, c * 0.2); } else
                     { color.rgb = float3(c + 0.9, c, c * 0.8); }

        gridColor = lerp(gridColor, color, 0.7);
        return lerp(gridColor, color, lineWeight);
      }
      ENDCG
    }
  }
}
※ 趣味コードなので多少雑なのはご愛嬌
解説
- 同じ処理を並列に走らせるシェーダでは if 文はパフォーマンス上望ましくないとされるので、
色味を指定する部分は本来であれば振り分け用の色を描いたテクスチャを用意して使用するのが望ましい
- (このようなテクスチャは ramp texture と呼ばれる)
- 今回は趣味コードなのでとりあえず if 文を書いて色を変えて遊んだ
- 階調化は
posterize()に示したようなコードで、if 文を書かずに任意のグラデーション数でやれることに気づいた - ノイズで使用している
rand()はシェーダ界では有名な実装 - グリッドは固定色で引くとうるさすぎたので、ベースの色と
lerp()をとって馴染ませている